Tuesday, November 8

Any Size Circle Skirt Calculator

ANY SIZE CIRCLE SKIRT PATTERN CALCULATOR PDF

Click to make a circle skirt in any size
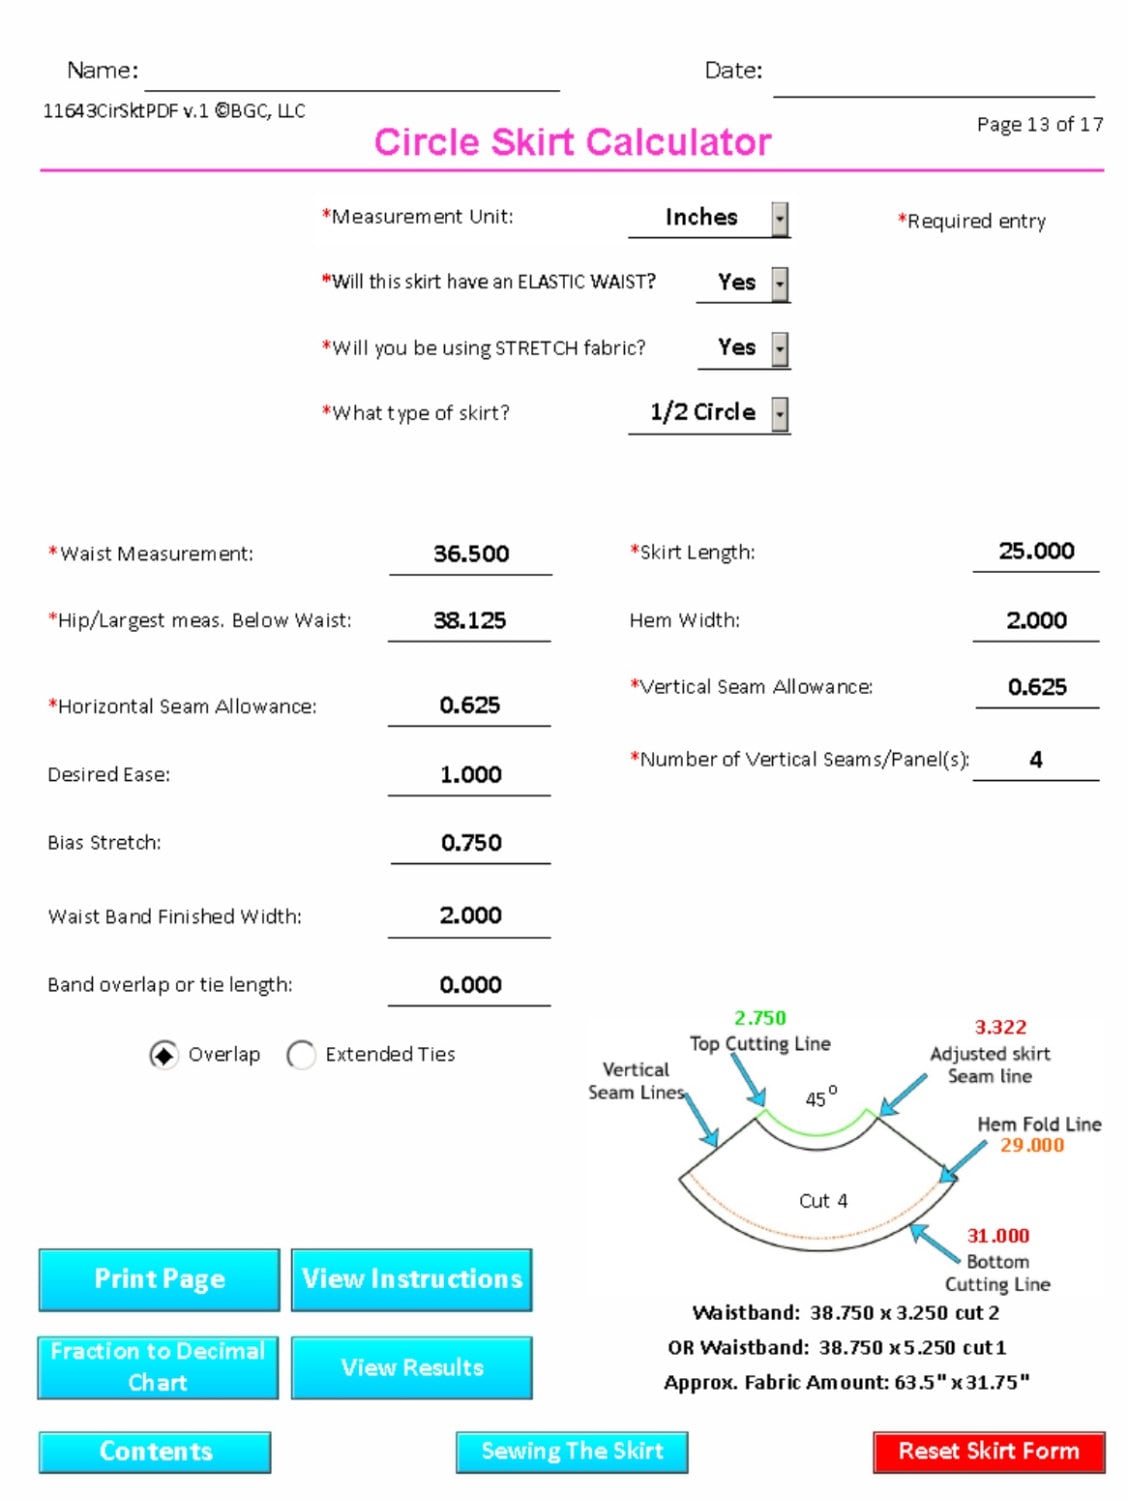
Want a pattern to make a circle skirt, a poodle skirt, a square dance skirt or swing/twirl skirt in your size?  Maybe make one for your friend and her daughter.  Then you should try this pattern calculator!  Not only can you create circle skirts you can create a half circle skirt which is half the fullness of the full circle.  You can create a three quarter circle skirt which is 3/4 the fullness of a full circle and you can create a A-Line skirt which is a quarter of a circle!

Did I mention that THE MATH IS DONE FOR YOU!

You can do all of that and make it in virtually any size and length you like!  Did I mention that you can even do a tiered skirt or add a wide yoke to the waistline?  Click the pic and check it out.

Use this file (once purchased), you enter the desired measurements and then print using the buttons provided.  You can add seam allowance in both directions, ease, and even a waistband or elastic.  You can even do panels.

If I didn't make something clear in any of the patterns, as always you can use the contact form in this blog.  Please, don't be shy, I welcome all feedback.

Check out this video to see it action...


Hot Pink Diamonds Dress


Doll sized strapless dress with exposed bodice darts and huge bow. To achieve the intended look, there are two bodices and is fully lined with contrasting fabric.


Below are images from and to enhance the instructions that come in the purchased pattern. Click the pictures to enlarge.

Dress 2b - This is the wrong side of the outer bodice.  The two spots are the dart points.


Dress 3a - The top edge of the inner bodice is pointing away from you.  The green pin shows the end of  the stitches, 3/8" from curved edge.

Dress 3e - Click to see the stitches on curved edged, but the not catching the bodice.

Dress 4c - it's ok if there is a little gap between the pieces.


Bow 15b - extension attached to bottom of the bow.
Bar tacks can be accomplished by setting your machine to zigzag, decreasing the stitch length to zero or lowering the feed dogs.

Bow 15c - accordion fold
Bow 15c - Turned and tacked.
Bow 15d - Twist, keeping bodice flat.

Bow 15d - tack to bodice after twist

Bow Tacked in place
Purchase & Download

18” Doll Square Neck Dresses


11632 ― 18” Doll Square Neck Dresses

This is my first published pattern! 

Come back here for comments & help.

This is very easy to create.  I used remnants and scraps from other projects.

Purchase & Download

FREE crochet pattern for 18" Doll: Peek-a-Boo beanie Hat

Here's a free crochet pattern for 18" Doll: Peek-a-Boo beanie Hat


Wednesday, May 13

FREE Sewing Pattern Hanger Tutorial (DIY)

Do you find yourself trying to keep up with the pieces of a pattern that you are currently working on?  You may even be sewing up more than one pattern at a time.  You've probably seen those pattern hangers that design houses use with their kraft paper patterns & slopers and thought "I might have to get some of those."
Traditional sewing pattern hanger

Well, you can create your own with items that you probably already have laying around the house or in your junk drawer.

All you need is a wire hanger and binder clips or trouser/pants hanger with clips.


You can use almost any size binder clip, as long as it fits around the hanger and can hold the pattern pieces securely.


Simply open the clip, insert the hanger and then the pattern pieces.

I have found that if I have a lot of pieces to clip, it is easier to lay them on top of each other on my cutting table, line up the edges to be clipped and then slide them into the binder clip.
There are three sets of doll sized patterns on one hanger.


To keep them from sliding across the hanger, bend it.  
Place your thumbs where you want the bend and apply a little pressure while bending to get a fairly sharp corner. 


As for pants/trouser hangers, just clip your items within the clips. 
I found that balancing the load will keep them on the hanger better.  
The only problem I encountered is that the clips can be too weak for paper.

As you can see you can even include zip lock project bags on the hangers.


I love using this because I can see at a glance what needs to be finished and it keeps the pattern out, but out of the way during assembly.  

FYI:  I have set up my kids' old closet bar extension (hanging from the ceiling) next to my sewing table to hang these.
just an example

Hope this helps with your organization!

Shelbi


Monday, January 26

It's been a long time...!

I know it's been a while.  I have been working on the WASHABLE HAND FANS.  I did a few for Christmas--YES, Christmas because not everyone's Christmas is during winter months and some of us are just HOT ALL THE TIME!  Now I am getting ready for spring and I can't wait to be warm again!

I have also been destashing, both my fabric and yarns.  I finally faced the reality that even if I lived until 100 years old and did nothing but sew or knit/crochet, I still wouldn't be able to get through it all.  Even if I did, what would I do with it?  So I had to rethink the "keep/let it go line."

This is the dynamic line in my head that I use to decide whether or not to keep things or let them go.  Reality hurts!  :(   BUT, I do love the space and feeling of being able to find good homes for all the accumulated craft items.  I list on eBay, Listia, Etsy, and I donate to some local charities.  Donation is a great way to keep useful things out of the landfill.  A lot of charities will pick up from your home and you don't have to be there.

Any whooo!  I wanted to share a video that I have seen a couple of times and you probably have, too.  This time it occurred to me that this is a great yarn holder!  Instead treats put yarn in your bag and make sure you thread it through the cap and it can be any size you want.  I really like this because I have a fluffy dog and this really helps keep the dog hair out of the yarn.  I also use large clear trash bags to hold my projects while I work on them to keep the hair away.


Happy crafting!

Thursday, May 29

Left handed rotary cutter for right handed people

A post for all who use rotary cutters....I love using rotary cutters to cut ALL fabric, including fashion sewing patterns not just shapes.  

Years and years and years ago (I'm not really that old, but it just seems like that's how long ago it was), when I was in middle school we were taught to use scissors to cut out patterns in sewing class. When I used scissors for cutting patterns, I found that I would lift the fabric too much and that would cause the pieces to be slightly different from one another.  I would pin the patterns and fabric and I would do the same thing - lift the fabric to pin it!  It was frustrating enough that I would dread it and not sew, but because I love to make stuff I kept at it and eventually found the rotary cutter and pattern weights.  So this solved my problem of lifting the fabric - all was well...time passes, things are good.

The cutting corner is to the left and
everything gets moved as needed.
So then I ran into another problem.  Due to space limitations my cutting table (which is half a ping pong table) is against a wall so I can't get to every side.  Honestly, I usually keep a corner clear for cutting and the other part is covered with fabric or somthing else. Therefore, depending on where I need to cut, it is difficult to cut with my right hand and moving the fabric and pattern could be disastrous.  I struggled on, almost contorting my body across my cutting table, again, could be disastrous.  Even when using small templates or rulers that I would just hold in place, it would be difficult to make a good even pressured cut all the way around using only my right hand.

Now we have the spinning/rotating/turntable cutting mats.  Which are great but, they seem to be best for shapes and they cost more than I want to spend.  I also feel like I wouldn't get that much use out of them because the shapes I usually cut are larger than the mats and I would have to move the mat around to get it out of the way, a lot.

Imagine one in each hand.
I now use two rotary cutters, a right handed and a left handed one to complete my cutting.

So if you're like me and you have multiples of (everything!) cutting tools, you probably have a couple of rotary cutters  (I don't know how they keep showing up).  Take a look at them, one of them probably can be configured for a lefty.  This means that the blade can be placed on the right side of the handle.  Maybe a little confusing when you first hear/read it, but what I mean is while you are holding the cutter in your LEFT hand as if to cut, you will be able to see to whole circle of the blade.  It's easy to do...just like changing the blade, unscrew the knob, put the blade on the right side and re-attach the screw on the other side.  I believe most cutters come ready for right handed people with the blade to the left of the handle. Now when I get ready to cut, I pull out both cutters in case I run into a tricky spot and need to switch hands.

BTW:  I am not ambidextrous by any means, I had to practice to get a decent even cut with my left hand and I cut much slower left handed than cutting with my right hand.

I hope this helps
Tuesday, March 18

How to insert fractions in my patterns, designs and instructions?

Have ever wondered how to get ALL of your fractions to look like fractions instead of numbers divided by a slash?

If you use MS Word then you may have seen that some of your fractions like 1/2 convert once you hit the space bar.  Those are already built in for us by Microsoft.  For those of us that sew, knit, crochet or craft and build, we use a lot more than just the few built in.

Did you know that in  Word you can add to the automatic or AutoCorrect list?  I found this quite useful support article for Microsoft Word that offers several ways to achieve a fraction looking fraction.  Thanks Microsoft!  BUT, for those that don't have MS Word, option three in the article may be applicable to other document writing programs that can create superscript and subscript font size.  Essentially, you type your fraction as the regular font then highlight the numerator and make it superscript then highlight the denominator and make it subscript.  Remember to highlight just the numbers individually and leave the slash the regular font size.  There ya go!

Another note:  In the instructions in the article for add an AutoCorrect Entry in Word (as of the writing of this post) are a bit off for Word 2007.  Follow the instructions in the article to add your fractions to the AutoCorrect list, but you can find the list for AutoCorrect by;

  1. Clicking the OFFICE BUTTON in the upper left corner of Word
  2. Click on WORD OPTIONS at the bottom of the dialog box
  3. Click on PROOFING
  4. Click on AUTOCORRECT OPTIONS
  5. Click on the AUTOCORRECT TAB
I hope this helps!


Sunday, August 25

To my fellow pattern collectors,

Came across this little gem today. Vintage Patterns, Old Patterns, Commercial Pattern Archive CoPA

You have to pay to but just think of all the vintage styles that you wish you could find.

Monday, June 24

eBay's new seller fee structure in 2013

I am a top rated and power seller on ebay: Big Gurl Cloz & other finds. I have tried other market places but, let's face it, nobody gets the traffic that ebay does...and that's what we're paying for--site traffic.  When I started selling full time I thought it would be worth it but, at this rate for a seller like me--it's not!  By the time eBay takes there fees (even before the change) and Paypal (eBay owned) takes their fees, even with the top rated seller 20% discount on final value fees, all totaled in the end--40% or more goes right to eBay in some form.

I know, the notice about the new fee structure for 2013 has been out for a while but I decided to hold off before saying anything until I started working with it.  I still think the same thing that I thought when I first read about it.

Only eBay can make FREE COST MORE!!

This especially applies for those of us that have lots of lower value items (sewing patterns).  I used to pay 5¢ per fixed price listing now 500 "free" listings and 10% fvf (used to be 11% fvf and from shipping the buyer pays), it actually works out to about 11¢ insertion fee per item if I list 1000 items.  I pay 59.95 a month ($10 more than before) since I can't afford to pay the $600 upfront for my store.  eBay got me excited with "500 Free insertion listings"  but as we know "ain't nothin' free" and eBay has worked hard to make cost more!.

Yes, I am slowly moving away from eBay and splitting my items to other sites:
Most sewing patterns and other craft items will end up on ByGone Curios
Other items created/designed by me with go to Big Gurl Cloz
Both sites are a work in progress but something has got to give and not to eBay any more!

It seems to me that you have to sell really high priced items to really make any money on eBay or sell really infrequently without a store.  I get they have to make money but, don't you have to have good sellers to sell what buyers want?  At this rate only sellers left will be the mega retailers.  They better watch out there are so many other up and come-ers and of course Amazon.  It just craziness!!